Open topic with navigation (left menu)
Activating elements
All learning tools added to a course can be set to active or inactive. This also applies to bulletins. An active element is visible to the participants. If the element is inactive, it is not visible to the participants. In other words, activating means publishing the elements to the users of a course or project. By adding learning tools without activating them, you can spend all the time you want to prepare your content. You avoid the participants seeing half-finished elements that contain errors. It is a good idea to activate elements only when they are ready.
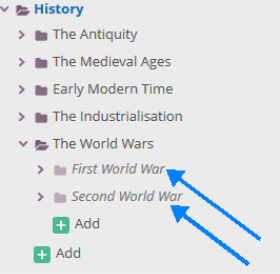
Teachers can see the inactive elements. In the navigation tree, inactive elements appear in italics and in light grey:
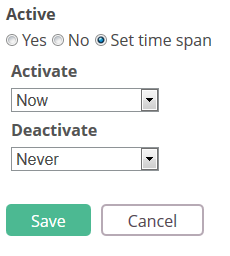
Another option is to use a time span. A time span allows you to set a time when the element is activated and/or deactivated. You have three options:
- Yes: The element is activated, and thus visible to the course or project participants, once you click Save.
- No: The element is not activated and is not visible to the participants when you click Save.
- Set time span: You select a time when the element is activated and deactivated.
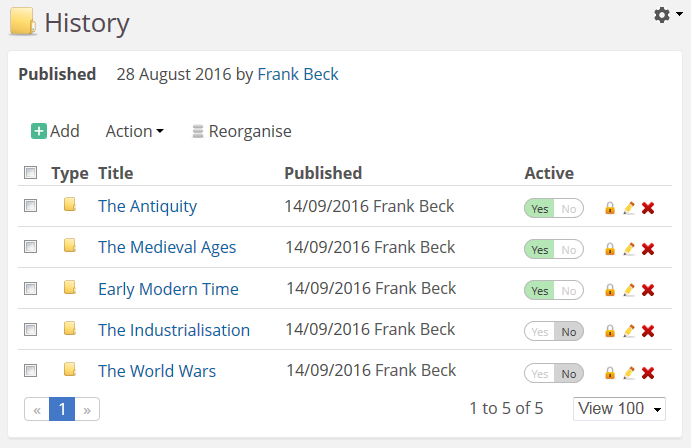
Using the toggle to activate elements
It's easy to activate elements in the folder view in courses with a Yes/No toggle.
Setting a time span
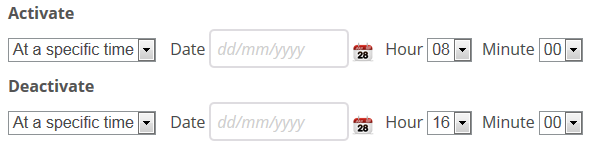
When you click the Set time span, you are allowed to select when to activate and deactivate the element. By default, the element is activated Now and Never deactivated (practically the same as selecting the option Yes). Now you can set an activation time, a deactivation time, or both. If you want to set a specific activation or deactivation time, use the drop-down lists and change from Now or Never to At a specific time.
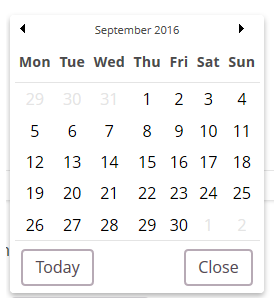
Click the date picker:  to pick a date you want to activate or deactivate the element. Click on the date you want to select. The date is automatically inserted into the Date field:
Select an Hour and Minute from the drop-down lists:
When you click Save, the elements are activated at the dates you specified.
Note: You do not have to set both an activation date and a deactivation date. An element can be activated Now and deactivated at a specific date, or activated at a specific time and never be deactivated.
 All learning tools added to a course can be set to active or inactive. This also applies to bulletins. An active element is visible to the participants. If the element is inactive, it is not visible to the participants. In other words, activating means publishing the elements to the users of a course or project. By adding learning tools without activating them, you can spend all the time you want to prepare your content. You avoid the participants seeing half-finished elements that contain errors. It is a good idea to activate elements only when they are ready.