New planner layout
 Read more ...
Open topic with navigation (left menu)
 Read more ...
The planner allows you to create a detailed plan for a specific period of time. It includes options to create plans on the fly with associated resources and learning objectives. You can connect learning objectives to each topic or plan – along with activities, such as assignments, discussions, and tests – and resources, such as folders, files, links, and notes. (If you want to connect learning objectives to a topic, you can add a column to the topic under the Planner settings and select ‘Learning objectives’ as the column type.) The planner is easy to use and features inline editing similar to that of MS Excel.
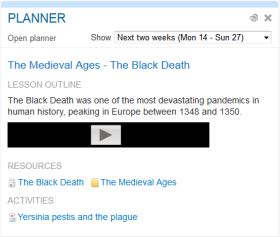
The participants in a course have a table view of the planner. The content block on the dashboard is limited to current plans that become active in the near future. The table view provides a more detailed overview, from which they can zoom in to a single plan.
Teachers can decide which plans to make visible to the participants, as well as when they want them to appear by entering a time and date for each plan. Deactivating a plan hides it from the learners easily. The teachers decide when the different plans should appear. The picture below shows the plan in edit mode for the teacher.
You can copy parts of a plan to other courses? Simply select the plans you want to copy, click Selection and choose a course to copy to. 
Before you start creating plans, you are advised to take a look at the Planner settings section, accessed from the top right corner of the plans.